Today is Halloween, so I have decided to share a simple DIY costume that I made just this last weekend. It was very easy to make and inexpensive. My best friend and I wanted to dress up together, so I brainstormed costumes we could make ourselves. What I came up with was the “red queens of the deck.” She was the queen of hearts, and I was the queen of diamonds. Here was our basic costume inspiration:

I really enjoyed making this costume because I found that I had a lot of things already that would work for it. Here’s a basic run down of what we did:
For the main dress, I found a four pack of Hanes men’s large white t-shirts on sale at Ross for $8.99. I was excited that it came with four shirts, just in case we messed up on the first ones (which we didn’t!) We grabbed some red paint at Walmart for the Qs and the heart/ diamond that would make up the front of the dress. The paint was around $2.95 for a large bottle. We didn’t bother with fabric paint, since we knew these would only be one time use! We also got sponge brushes from Walmart as well for about $1.00. The last thing we purchased was glitter which we found at the Dollar Tree.
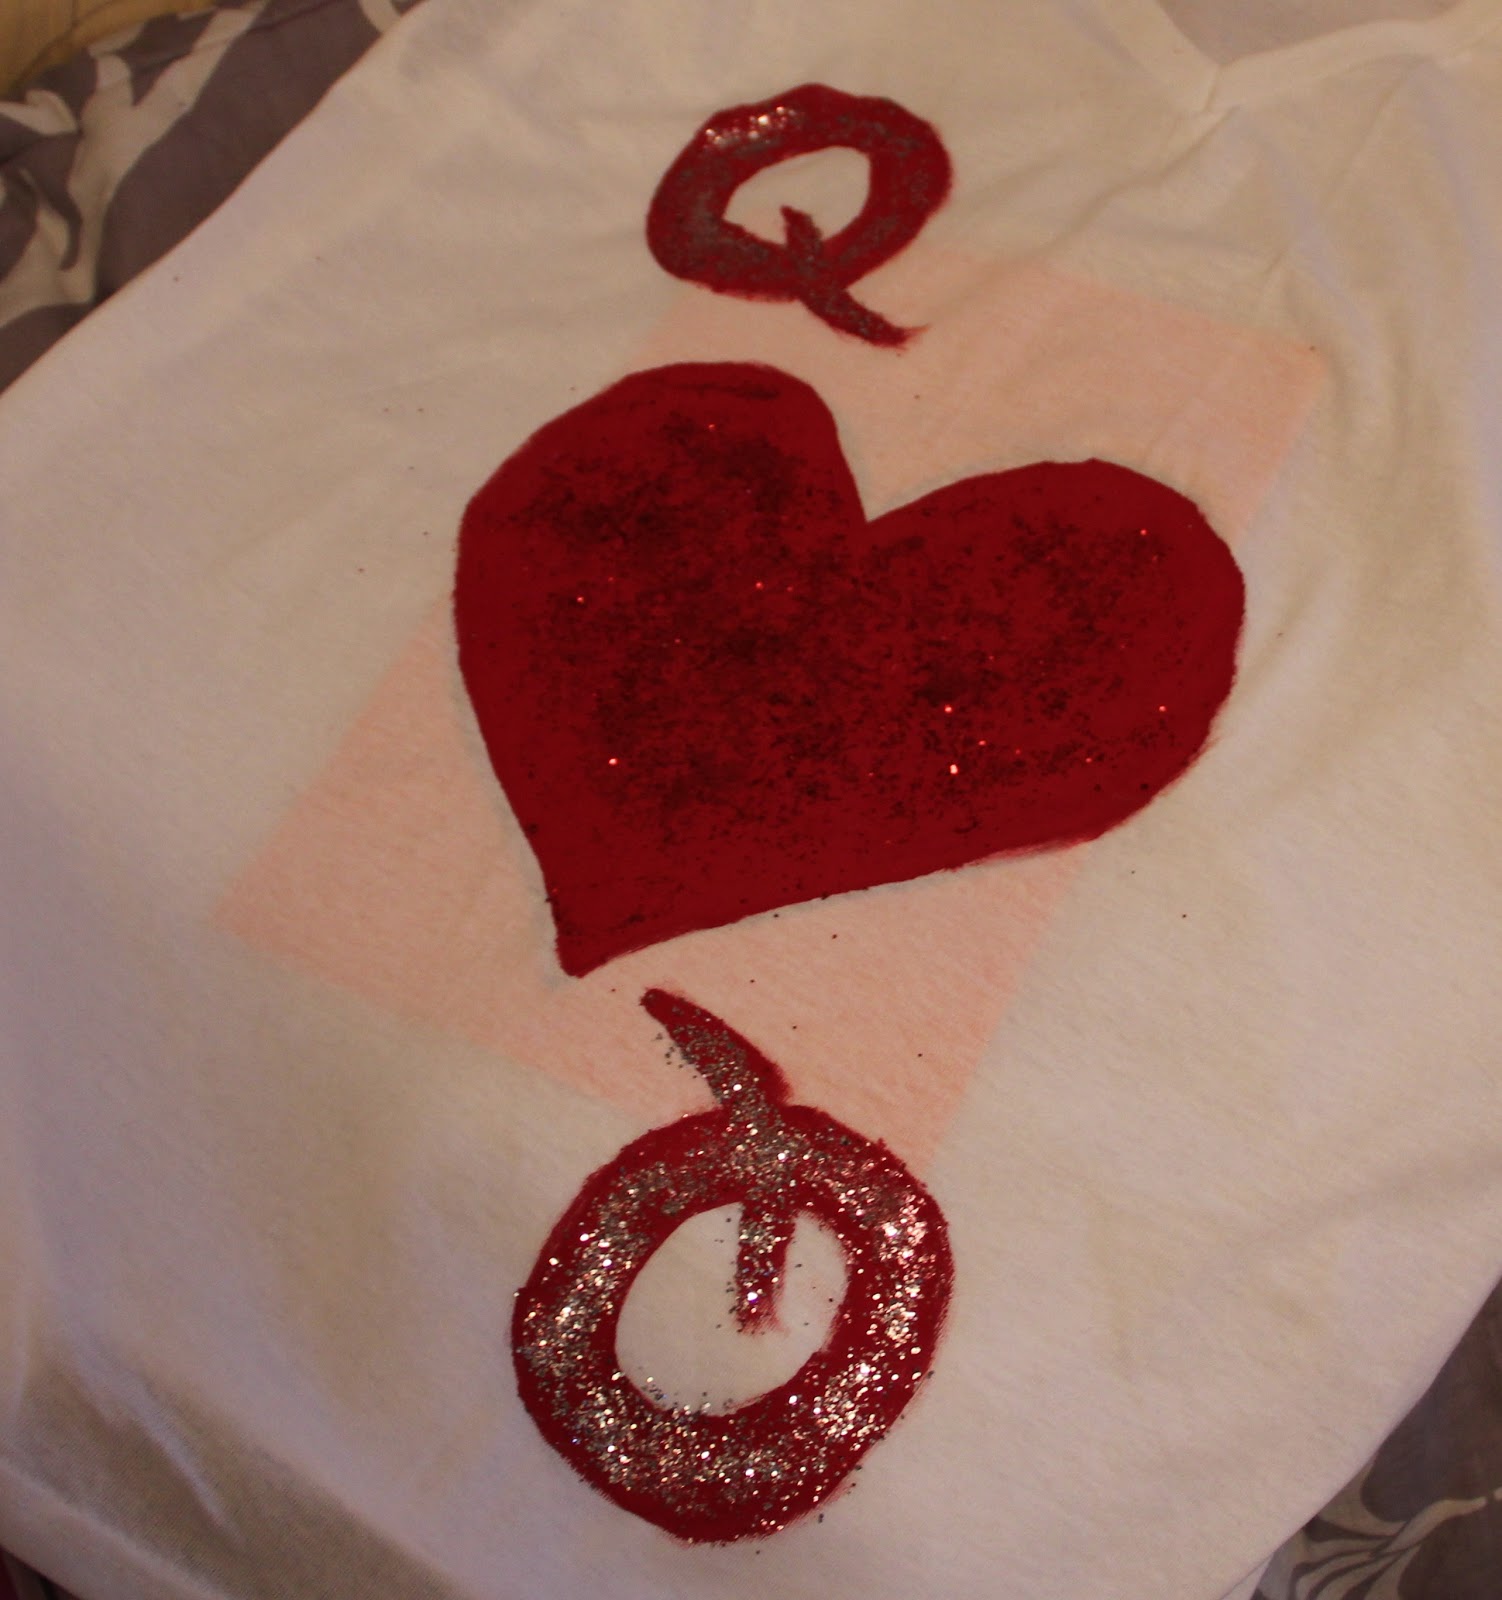
To make the dresses we steamed the shirts, cut off the sleeves, and laid them out on a flat surface. I drew what I wanted the shirts to look like on a piece of paper and put it inside the shirt to follow while I was painting. I then painted a right-side-up Q on the left upper-hand side of the shirt, followed by the heart (or diamond) in the middle, and then an upside-down Q in the lower right-side similar to the playing cards above. To finish them we painted red glitter over the heart/diamond, and silver glitter over the Qs. We then let them dry. (We did have to blow dry them later to speed up the process.) Here they are laying out to dry:

Once the dresses were dry, we folded the sleeves and tied them with leftover lace ribbon that I had, to keep the sleeves looking feminine. We also cinched the shirts in the back so the dress didn’t look “baggy.”
We also made crowns, because every queen needs a crown. These were so easy and so cheap. We bought two packs of foam sheets from the dollar tree, and two packs of decorative gems from the craft aisle at Walmart. The gems were about $2.95 each and we got diamond colored ones and larger multicolored ones. To make the crowns I just cut the foam sheets in half (the long way) and cut large jagged edges along the top. I then stapled two pieces together, making sure they fit our heads. I decorated them by gluing the diamond colored gems in the shape of a “Q” in the center, with the colored gems on either side. Ta-da! Easy.
 |
| It was my best friend’s birthday, so she wrote on hers. |
The last touch we added was simple. We took delicate white ribbon (which I had already), “our” queens from a deck of cards, and a hole punch. We punched a hole out of the corner of the card and used the ribbon to make a necklace for us to wear. We figured it would help make our costume more obvious!


We paired the dresses with black tights/ leggings because it’s getting colder out. We also painted our nails red, wore red lipstick, and wore “fake” large pearl necklaces. We had a great time making and wearing the costumes!


Leave a Reply