
I like crafty things. Especially for events. Being able to say, “Yeah, I made that” is pretty great.
Take a cake topper for instance. Yeah, the typical numbers are fun, but they can be a bit cheesy. I wasn’t about to use anything cheesy for my mom’s surprise 50th. {I planned and executed the whole thing with the help of my aunt and sister-in-law, so I can’t wait to share all of the details! That will come later though, when I have lots of free time!}
So, I decided to make my own cake topper! I knew what I had in mind.
{wooden numbers + glue + glitter}
Now, this wasn’t my first experience with cake-topper-making. I had made just one before. For my wedding cake. Yes, that’s right. I made my wedding cake topper with no prior cake-topper-making experience. And I really like how it turned out.

I’m not sure how well you can see them, but they are wooden birds, or “love birds” as I call them. I found these wooden birds at Michael’s for about $0.30 each. I picked up four of them, two being extra in case I messed up. Then, I found really pretty blue and pink craft paint from Martha Stewart’s craft line. After that, I just needed wooden skewers, a pretty stencil, and white paint.
I cut two of the wooden skewers in half to shorten them and painted the birds white. After the white dried, I placed the stencils over the birds and painted the boy bird blue and the girl bird pink. Once the colored paint had dried, I used my hot glue gun to glue the birds to the skewers. And ta-da! My wedding cake toppers were complete! This picture might show the colors better:
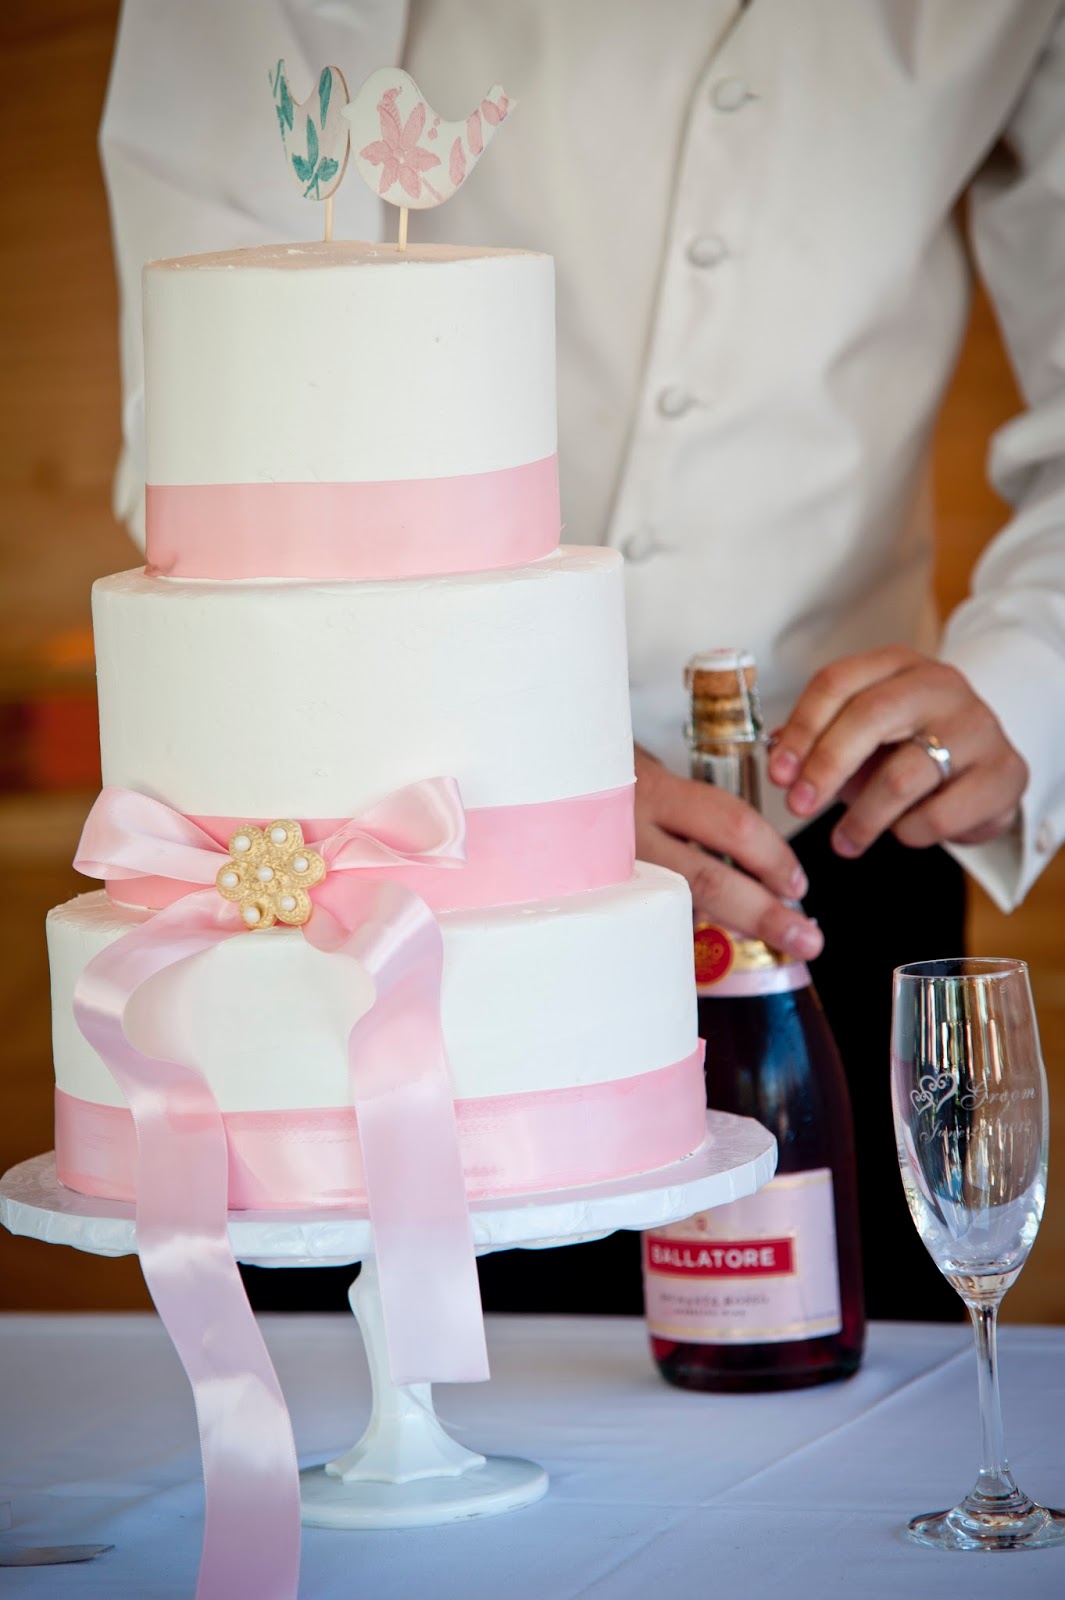
Yes, breaking out the pink champagne!
I really didn’t like any of the wedding cake toppers I found online, plus they were so expensive. I didn’t want to spend money on something I wasn’t even crazy about to begin with. This project cost me between $5-$10. Plus I love the handmade touch.
Okay, now for the topper I made for my mom’s surprise 50th birthday party. I knew I wanted to follow the same concept as my wedding cake topper, but I couldn’t find a five or zero at my local craft store. I ended up turning to Amazon to order them, and when I received the numbers, they were a little bigger than I planned. I used them anyway, and still like how the topper turned out.

{I know the cake looks odd, but I made it my self. My first ever attempt at a layered cake. And while it looks like it has “character” it at least tasted delicious!}
:-)
I purchased craft glue (so it would dry clear) and a pack of glitter from the Dollar Tree. Then, it got messy. After gluing and then shaking the glitter onto the toppers, I found that glitter was going to fall off of these toppers when we put them in the cake. So, I ran to the bottle of decoupage sealer I knew I had lying around somewhere and coated my glitter. After it dried, I was so relieved to see that the glitter wasn’t going anywhere.
Then, I used my hot glue gun to glue the numbers to halved wooden skewers, and my cake topper was complete!

And while I’m here, talking about the crafty cake topper, I may as well share that I made the cake stand as well. I couldn’t afford any of the cake stands I found and loved, so it just made sense to try and make it myself. I had seen on Pinterest that you can glue a dollar store plate to a candle stick, so I thought I would give that a try. It worked!
I ended up purchasing the plate and candlestick from the Dollar Tree, and my sis-in-law and I used super heavy duty glue to adhere the plate to the candlestick. After letting it set, we were thrilled to see that it didn’t budge. (I mean, it was a $2.00 project, so if it had failed, we would have been okay with it.) And then, when I left it at her house and she had to bring it to me later that week, it ended up getting tossed around in the back of her car and still didn’t break. At that point, we figured we were okay to use it for our cake stand :-)
Here’s a closer picture of it:

I can’t wait to share the rest of the surprise party!
Happy Thursday all! One more day til the weekend!

Thanks for following me on Instagram! So happy I found you blog :)
xo sara
You’re welcome! I love your photos! That’s awesome– thank you :-)